Everybody knows they need to wash their dishes and their hands, but items like the oven, microwave, sink, and many more appliances also need to be cleaned.
Here’s a list of things that need to be cleaned and how to clean them.
Microwave and Oven
The microwave gets a lot of food and grease around it, so it should be washed regularly.
- Fill a microwave-safe bowl with 1 cup of water and 1-2 tablespoons of vinegar or lemon.
- Microwave on high for 3-5 minutes or until the water boils and there is steam in the microwave (may vary depending on the microwave).
- Let that sit for 5-15 minutes, depending on what is in your microwave, to allow the steam to loosen the food.
- Remove the bowl and wipe down the microwave with a damp cloth or sponge.
- Remove the turntable and clean it with your dish soap and water.
Your oven, just like your microwave, has a lot of food and grease on it, even though it may not be visible. Here’s how you can clean it:
- Remove the racks and put them in the sink or bathtub (whichever is easier) and soak in warm water with a dishwasher pod (or dish soap if you don’t have dishwasher pods).
- Clean any food in your oven.
- The next part can vary depending on what you have in your home and what oven you have.
- If the oven is newer, press the self-cleaning setting. Once it is done and the oven cools, wipe down with a damp rag to get the ashes out.
- Use a cleaner spray on the interior surfaces, allow it to sit for the recommended time, scrub with a non-scratch pad, and wipe down the oven with a damp rag to remove all chemical residue.
- If you have neither of those, you can make your own cleaner. Mix 1/2 cup of baking soda with a few tablespoons of water to make a thick paste. Spread the paste all over the interior of the oven, leave the paste overnight, fill a spray bottle with white vinegar and spray the dried paste (this should cause it to bubble), scrub with a non-scratch sponge, and wipe down with a damp microfiber cloth.
- After soaking, use a sponge to clean the racks off for any extra grime and rinse them.
- Once all steps are complete, replace racks and you are finished.
Your oven mitts also need to be washed, whether they touch food or not, but they are fairly easy to clean.
- Handwash them by making a mixture of dish soap and warm water (baking soda if you need stain removers), use a cloth or soft brush to gently rub dirty areas, rinse under warm water, get all soap off, gently wring out, and let air dry.
- You can also machine wash them, but first make sure that they can be by looking at the tags. After making sure, take care of any stains, use stain remover or a mixture of warm water and baking soda, and put it on the stain, put it in the dishwasher with other like items (do not use fabric softener), and air dry once done.
Sink
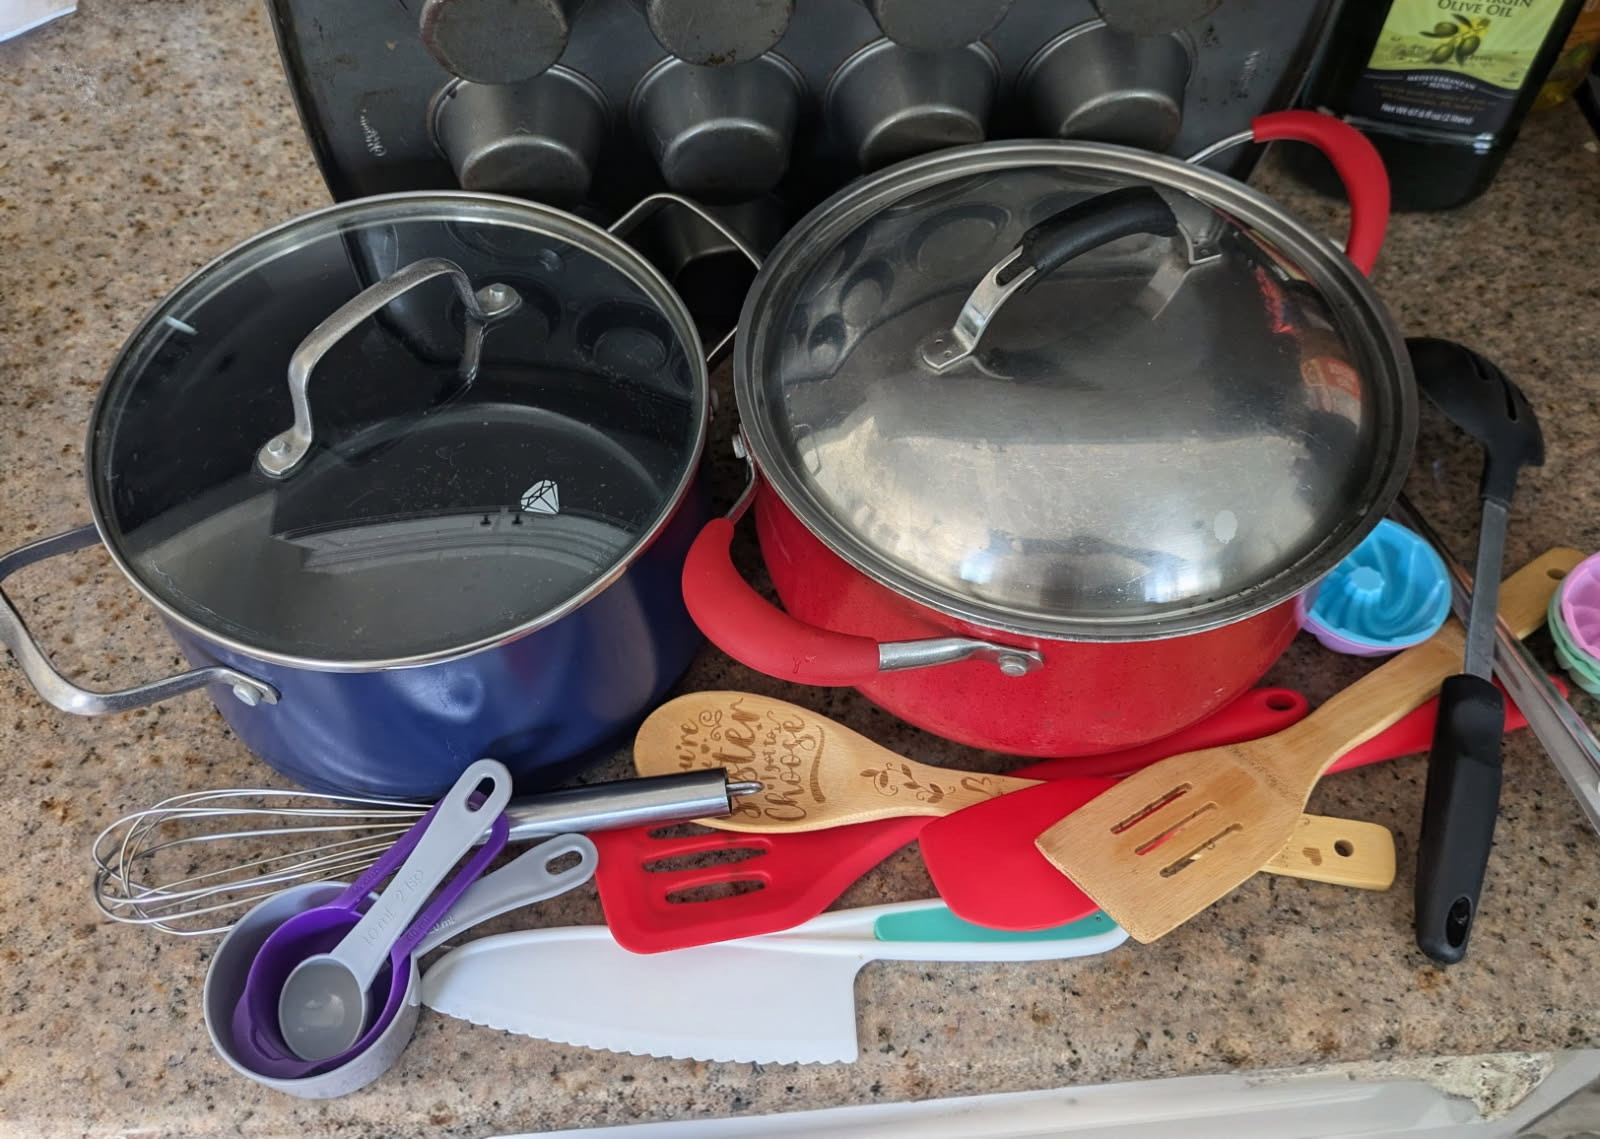
All utensils, pots, pans and everything in between are washed in your sink, so always make sure the sink is clean.
- Rinse the sink with warm water.
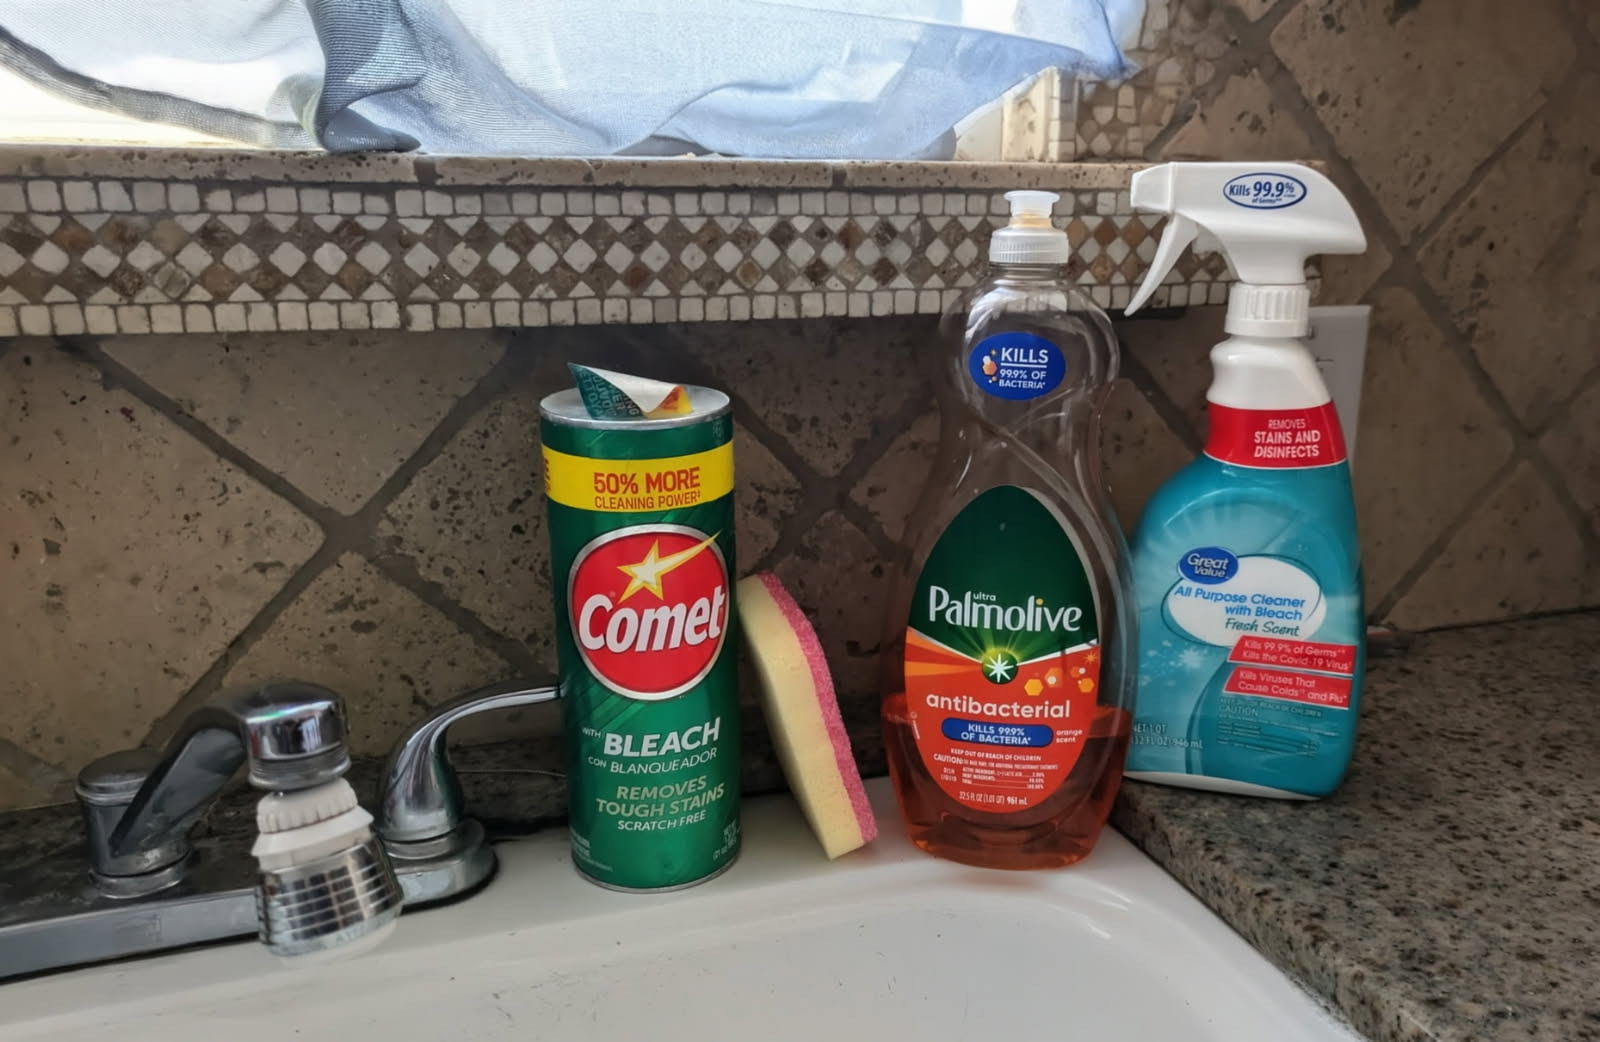
- Put soap on a non-scratch sponge and gently scrub the sink all around.
- Rinse the sink with warm water.
- Use a microfiber towel to dry the sink to prevent wet spots.
Refrigerator and Freezer
The refrigerator and freezer must be cleaned to ensure the freshness of food and to keep mold and old stuff out of the food.
- Remove everything, including drawers, shelves, and food.
- Sort through food and throw out any expired or moldy food.
- Wash the shelves and drawers with warm soapy water and let them dry.
- Make a mixture of 1 cup of vinegar and 1 cup of water, and spray it into the fridge or freezer, and let it sit for a few minutes.
- Use a sponge or soft rag to wipe down the walls and a toothbrush to clean little grooves.
- Wipe everything dry, use a clean dry cloth, and make sure everything is dry.
- Restock the shelves and drawers, and the food that was still good.
Knifeblock and Utensil organizer
While it doesn’t seem like it, your knife block and utensil organizer have to be washed so you don’t ingest dirt and grime or possibly even old food not been cleaned properly.
For your knife block:
- Remove all knives and turn the block upside down and shake/tap it to get all debris out (you can use a vacuum nozzle to make it easier).
- Use a damp cloth with dish soap to wipe down the outside. Be sure to get any and all food particles and any grime.
- Wipe down with a damp cloth, being sure to get all soap residue.
- To get the knife slots, you can use a mixture of warm water and dish soap. Dip a pipe cleaner, straw brush, or a small bottle brush in the solution and clean the slots.
- Rinse the slots and be sure to remove all soap residue.
- Allow the knife block to completely dry, put it upside down on a clean surface, and allow all water to be removed before replacing the knives.
- Once fully dried, replace knives.
The process for cleaning your utensil organizer is much quicker and easier.
- Remove all utensils and anything else in the drawer, and discard anything not needed.
- Clean the drawer, wipe it down, or vacuum it out as needed.
- You can either soak them in warm water and soap or warm water and some vinegar.
- Use a sponge and toothbrush to scrub down the organizer as needed .
- Allow it to air dry on a clean surface or wipe it down with a clean, dry rag. Make sure to get all the water off to avoid mold.
- Replace all utensils.